July 28, 2026
A DIY vehicle wrap seems an easy saving until curved panels, edges and post-heating enter the picture. This guide reviews the equipment, techniques, real budget and legal points involved, and identifies the jobs where professional fitting remains the safer choice.
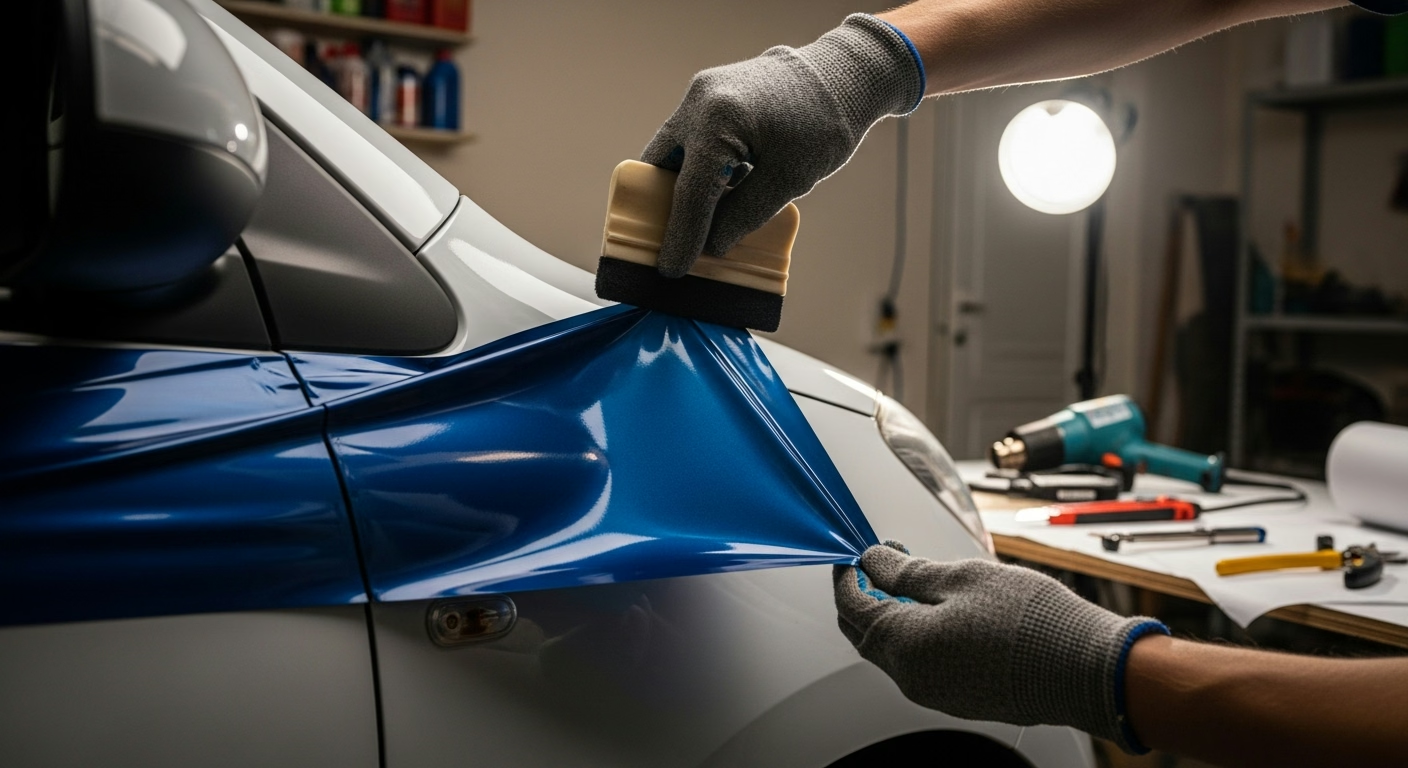
A roll of coloured film, a squeegee, a heat gun and a free weekend: presented this way, a DIY vehicle wrap looks like an accessible project with a large saving at the end. The reality is more demanding. A complete car carries around 15 to 20 square metres of film across panels that curve in two directions at once, and the distance between fitting a flat decal and wrapping a bumper is far greater than most online tutorials suggest.
The question deserves a factual answer rather than a discouraging or an enthusiastic one. Some jobs are entirely within reach of a careful amateur; others fail predictably and end up costing more than professional fitting would have. Understanding what a vehicle wrap is and how the material behaves is the starting point for drawing that line correctly.
The guide below reviews what a do-it-yourself wrap really involves: the equipment and workspace needed, the techniques that separate a first attempt from a professional finish, the true budget once waste and tools are counted, the legal points that apply in the United Kingdom, and the situations where each approach makes sense.
A vehicle wrap is the application of a self-adhesive film, most often made of polyvinyl chloride, over the painted surfaces of a vehicle. The film bonds through a pressure-sensitive adhesive that grips on contact and builds strength over the following days. Modern wrap films use air-release channels in the adhesive, which makes bubble-free application achievable for a beginner on flat surfaces.
Two film families dominate the market. Calendered films, produced by the calendering process, are thicker, more economical and suited to flat or gently curved areas. Cast films are thinner, more conformable and hold their shape on complex curves, which is why professionals reserve them for full wraps. The differences are detailed in the guide to vinyl vehicle wrap materials, and they matter doubly for an amateur: a cheap calendered film on a curved panel fails whatever the skill of the person applying it.
The direct answer to the underlying question is this: wrapping a roof, a bonnet, mirrors or interior trims is a realistic amateur project. Wrapping a complete vehicle to a standard that survives close inspection and several years outdoors is rarely achieved on a first attempt, because the difficulty is concentrated in exactly the areas a beginner cannot practise in advance.
The tool list is short but not optional. In workshop practice, the minimum set includes a felt-edged squeegee for pressing the film down without scratching it, a heat gun for softening and post-heating the vinyl, a fresh-bladed knife or knifeless cutting tape, lint-free cloths, an alcohol-based surface cleaner, magnets or masking tape to hold the film in position, and clean cotton or nitrile gloves.
The workspace weighs as heavily as the tools. Professionals work in enclosed bays for measurable reasons:
An open driveway fails at least two of these conditions on most days of the year, which is why outdoor DIY wraps age visibly faster than the same film applied indoors.
Technique, more than material, explains the gap between amateur and professional results. Two areas concentrate most of the difficulty.
On a flat panel, the film is laid, squeegeed from the centre outwards and trimmed. On a bumper or a wing, the film must be stretched in a controlled way so it conforms without wrinkling. Stretch is not free: the plasticisers that keep the vinyl supple are finite, and a section stretched beyond roughly 10 to 15 percent thins out, loses colour density and pulls back over time. Overstretching is the single most common beginner error, and it is invisible on the day of application.
Finish choice raises the bar further. Gloss films forgive small irregularities; matte and satin surfaces show every touch mark and every uneven pass, which is why a matte black vehicle wrap is considered a fitter's exercise rather than a beginner's project. Textured and colour-shift films are harder still.
Every stretched zone must be post-heated to a precise temperature so the film loses its mechanical memory; skipped or uneven post-heating is the classic cause of edges that lift within weeks. Edges and seams then need to be wrapped around panel lips and sealed, not simply cut flush. Trimming is its own risk: cutting excess film directly on the bodywork with a blade can score the clear coat, which is why professionals cut on sacrificial tape or off the vehicle. None of these steps is secret, but each is a motor skill that only repetition builds, which is what structured training such as a vehicle wrapping course exists to provide.
The apparent saving of a DIY wrap comes from removing labour, which represents the majority of a professional invoice. The full calculation is less flattering. The film for a mid-size car costs several hundred pounds in quality cast material, and buying entry-level film to save money reintroduces the conformability problems described above. To this must be added the tool set, cleaning products, and a material margin of 10 to 20 percent for miscuts, since a wrongly trimmed or overstretched section cannot be reused.
The comparison basis matters too. Professional pricing varies with vehicle size, film family and finish, as detailed in the guide to vehicle wrap cost. Against that reference, a careful DIY budget for a complete car commonly reaches a third to a half of the professional price, not the tenth that the headline film price suggests.
The hidden line in the budget is failure. When a DIY wrap has to be redone, the sequence typically includes removal of the failed film, cleaning of adhesive residue, sometimes paint correction where a blade or aggressive peeling has marked the surface, and then a new wrap. Workshop experience places that combined bill above the cost of a single professional installation, which is the financial argument for matching the project to the skill level honestly.
Three families of risk deserve a factual look before any purchase.
The first is premature ageing. A professionally applied cast film holds for five to seven years; the ranges and the factors behind them are covered in the guide on how long a vehicle wrap lasts. Application defects shorten these figures sharply: overstretched zones fade and crack first, unsealed edges lift, and ultraviolet exposure accelerates every one of these weaknesses through the photo-oxidation of polymers, a documented ageing mechanism for vinyl left in direct sun.
The second is damage to the vehicle itself: blade scores in the clear coat, solvents that dull the finish, and paint pulled by the removal of a badly applied section. On a leased vehicle or a recent model, these marks translate directly into money at resale or return.
The third is regulatory, and it applies equally to amateur and professional wraps in the United Kingdom:
A do-it-yourself approach is defensible in clear cases: a roof or bonnet in gloss film on a personal car, mirror caps and trims, interior panels, a first project undertaken as a hobby where the learning itself is part of the value. In these configurations the surfaces are manageable, the film cost is modest and a failed attempt teaches rather than penalises.
The calculation reverses for anything that carries an image or an obligation. A vehicle used commercially is a moving representation of the business, a principle documented in the long history of wrap advertising, and a creased door panel communicates the opposite of what the livery intends. Fleets add operational constraints: immobilising vehicles for amateur timescales is rarely acceptable, colour consistency across units cannot be improvised, and warranty on the work matters. For these cases, professional fitting is not a comfort option but the economically rational one.
The subject of this article connects with several services offered by Brands And Markets for businesses and fleets. For lettering, decals and partial marking, where professional cutting and application make the sharpest visible difference, the dedicated page on vehicle lettering and decals presents the available options, and the overview of all services situates wrapping within a complete fleet personalisation offer.
For a structured project, the online configurator lets a company visualise a design on its vehicle type and obtain a cost frame in a few steps, which is a practical way to compare a professional quotation against a do-it-yourself estimate before committing either way.
A DIY vehicle wrap is neither a myth nor a trap: it is a project whose feasibility depends almost entirely on the surfaces involved. Flat and gently curved panels reward patience and preparation; compound curves, edges and premium finishes reward training and repetition, which is precisely what an amateur does not yet have.
The honest decision method is to price both routes completely, including tools, waste and the cost of redoing failed panels, and to weigh the result against what the vehicle is for. A hobby car tolerates a learning curve. A commercial vehicle, a lease return or a fleet does not, and in those cases the professional route protects both the bodywork and the image it carries.
Wrapping a car at home is possible within clear limits. Flat or gently curved surfaces such as a roof, a bonnet or door mirrors are within reach of a careful amateur equipped with a squeegee, a heat gun and good quality film. A full wrap is a different exercise: bumpers, deep recesses and compound curves demand stretching and post-heating techniques that professional fitters spend years refining. Most first attempts at a complete wrap show visible defects, and a significant share end with panels being redone. The realistic approach is to start small, accept a learning curve, and reserve full body work for a trained fitter.
The film alone for a mid-size car typically represents several hundred pounds, to which tools, cleaning products and a waste margin of 10 to 20 percent must be added, since miscuts and overstretched sections are frequent on a first attempt. A realistic budget for a complete do-it-yourself wrap therefore often lands near half the price of a professional job rather than a tenth of it. If panels fail and need professional removal, adhesive cleaning or paint correction, the total can exceed the cost of having the wrap fitted professionally from the start.
A professional team generally wraps a complete car in two to three working days, including dismantling of handles, lights and trims. An amateur working alone should plan at least double that, spread over several sessions. A single complex panel such as a bumper can absorb half a day on a first attempt. Time pressure is a known cause of failure: adhesive films tolerate repositioning, but rushed stretching and trimming produce creases and cut marks that cannot be corrected afterwards. Setting aside a full week of spare time for a first complete wrap is a realistic planning basis.
The film itself normally protects the paint. The damage risk comes from the process around it: cutting excess film directly on the bodywork can score the clear coat, aggressive cleaning with unsuitable solvents can dull it, and tearing off a failed section without heat can lift weak or repainted finishes. Professional fitters cut on knifeless tape or off the panel precisely to avoid blade contact. On a vehicle with original paint in good condition, a correctly applied and correctly removed film leaves the finish intact, which is one reason businesses use wraps to preserve resale value.
Two declarations matter in the United Kingdom. If the wrap changes the dominant colour of the vehicle, the change must be recorded on the V5C registration certificate with the DVLA. Separately, a wrap counts as a modification for most insurers, and the policyholder is expected to inform them, whatever the colour. Number plates must remain untouched and fully legible, and the film must not encroach on glazed areas or lights, whose condition is regulated. None of these steps is costly, but skipping them can invalidate cover or lead to enforcement issues.
Prêt à transformer votre projet ? Discutons de vos besoins et de la manière dont nous pouvons collaborer.
Adresse : 28 rue Fresnel – F-78310 COIGNIERES
Téléphone : 01 85 40 01 75